First, the cast of characters:
– pretty fabric
– scissors
– tailor tape
– pins
– sewing machine threaded with coordinating thread
– spray bottle and iron (Or, you can just use the steam function on your iron. I just love to spray!)
– a dowel rod. totally not necessary. You can use a pencil or your finger. I’m just accustomed to using the dowel.
– a pillow form. Whatever shape and fill you like. Down is my favorite favorite. I love to buy down pillow forms for $.50 at yards sales all summer long (I have five or six on the top shelf of the closet in my sewing room. People let them go for nothing because they’re covered in ugly fabric and don’t even think of the awesome underneath!) or you can pick them up at JoAnn Fabrics or some similar store for a fairly reasonable price, particularly if you have good coupons.
Don’t they look excited?
Alright, now the matter of determining size and preparing to cut.
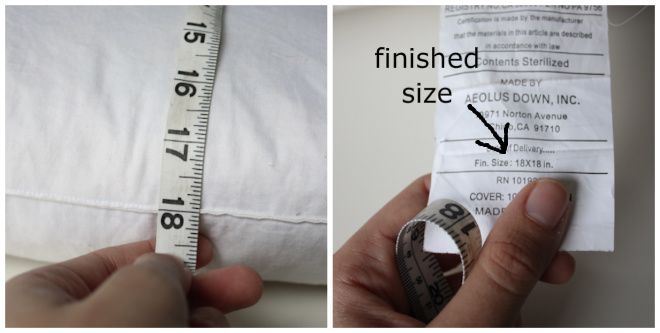
Measure your pillow from seam to seam. If it’s not square, be sure to get both dimensions. Of course. There should be a tag on the pillow that indicates the finished size. It’s like a cheat sheet.
My pillow is 18″x18″.
Some folks cut two pieces of fabric and sandwich them together. Not us! This method is going to make you much happier! At least I think so.
I cut one piece of fabric in a rectangle using the following formula:
Width = pillow width + 1″ (19″ for me)
Length = pillow length x 2 + 6 (42″ for me)
(that 6″ is added to the length because we’ll need extra fabric for the overlap and the hems.)
Still with me? Just picture a rectangle of fabric that I failed to photograph because I was racing the naptime clock. Don’t worry though. There will be plenty more photos.
So, to make things clear here let’s name the two short ends (the 19″ ends in my case) the North end and the South end. Just to help.
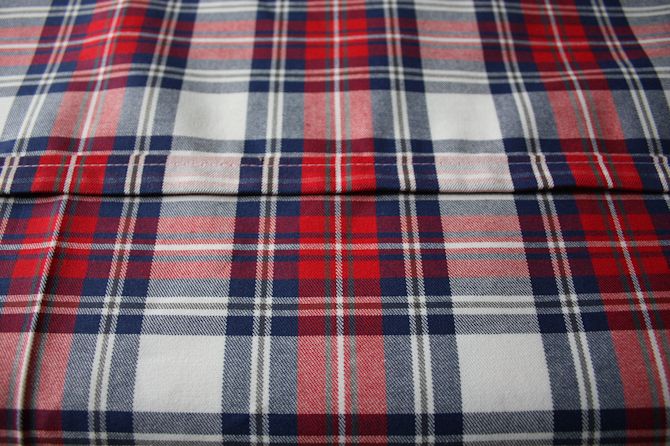
With the wrong side facing up, find the North end and turn the fabric in 1/2″ and press.
Then turn it in another 1/2″ and press. This will conceal the raw edge of the fabric.
Do the same on the South end of your fabric.
{I like to turn the North end in 1/2″ for both turns, but the South end in more like 1/2″ then 1.5″. This way when you overlap, the broader hem shows and it’s kind of pretty. Don’t feel crazy if this overwhelms you – it’s totally fine to ignore what I just said.}
Now it’s time to stitch.
We’re just running a medium-length stitch along the folds to make them permanent.
Just two straight lines, one on each end.
{See how my South end has a wider hem? That’s just how I like to do it. And this has nothing to do with me living in the South.}
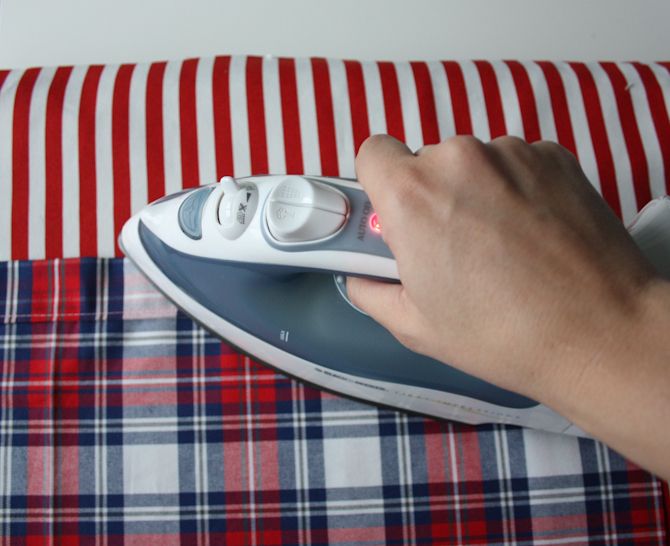
Okay, now press what you just sewed.
That word looks funny.
Alright, we are totally halfway there. Told you this was easy-peasy!
Now we’re fixing to pull it all together.
(Can I just say here that I regret covering my ironing board with the red/white striped fabric? I thought it would be festive and also cover up my yucky existing cover, but it’s really just distracting. Sorry!)
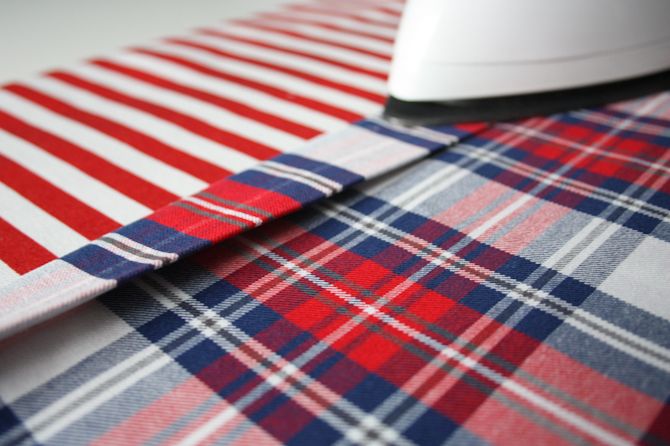
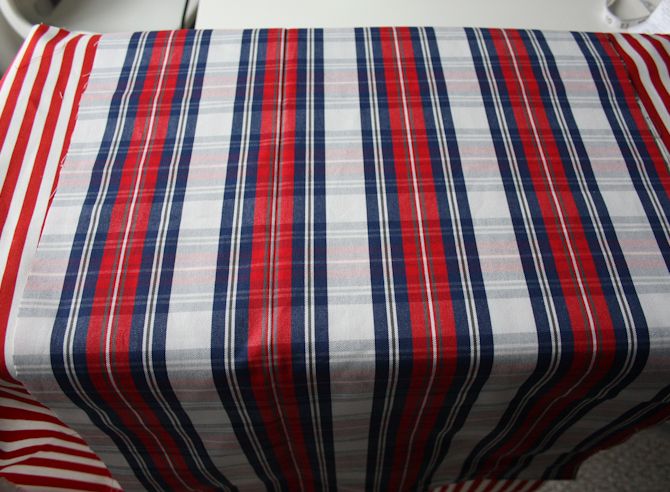
Okay, pulling it together. Drape your fabric across your ironing board (or table or whatever) with the RIGHT side facing up. This means that the pattern is facing DOWN away from you. This particular fabric (on sale at IKEA!!)is kinda two-sided, so it’s hard to tell which side is right/wrong. For the record, I have it facing right side up.
Now fold the South end in toward the center. If you have one wide hem, that would be the one to bring in first.
(We’re going to make this look like a square here – or whatever shape your pillow happens to be.)
Now pull the North end up, overlapping the South end.
Now it’s your job to make the dimensions work. Or, our job rather. We have to fiddle with the overlap amount until we achieve our finished pillow dimensions. I am aiming for 18″ across here.
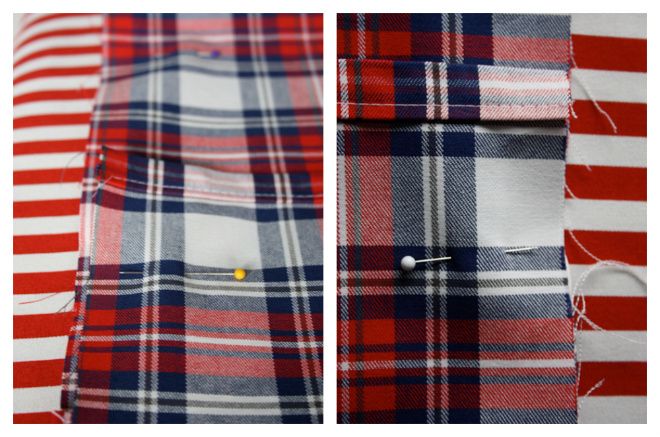
When you’ve hit the magic number it’s time to pin.
Just a few pins on each side will do it.
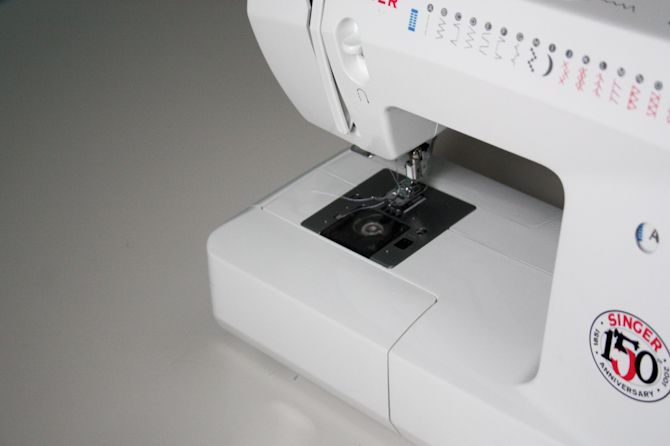
Now, back to Ol’ Faithful.
Hello again, friend.
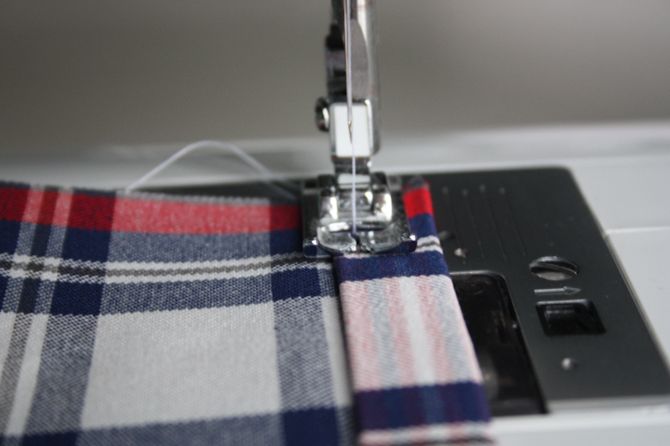
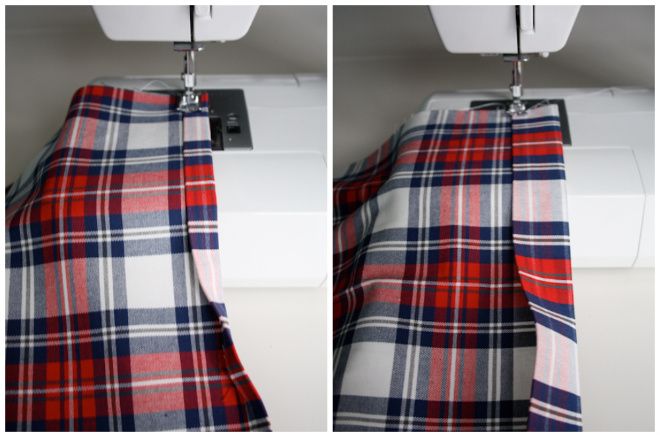
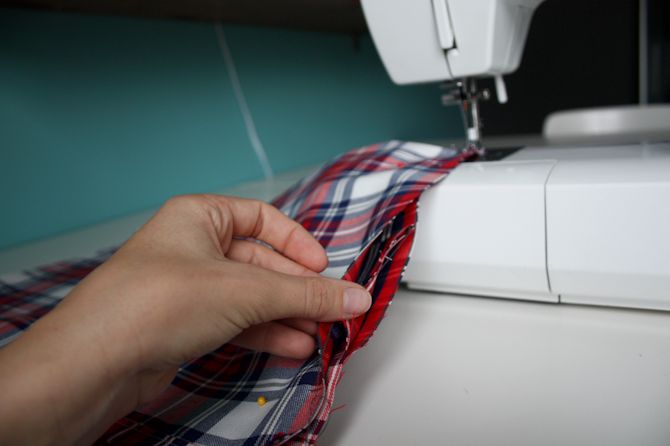
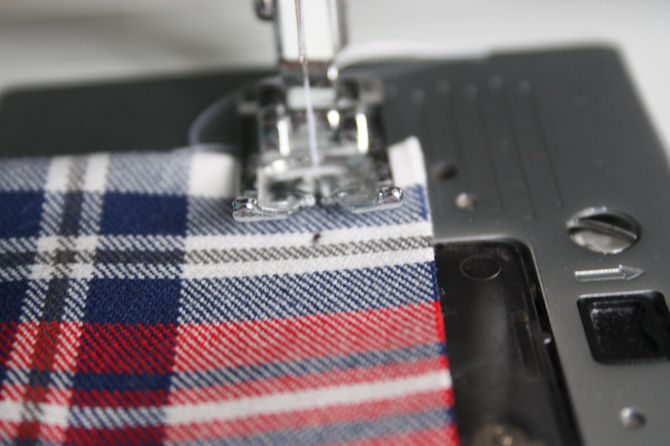
And we’re going to stitch these open ends closed.
See how I’m showing what’s going on here? As you begin to stitch there will be just two layers of fabric, then you’ll approach the overlap and there will be three layers for a while, then back to two. All in one straight stitch.
You with me?
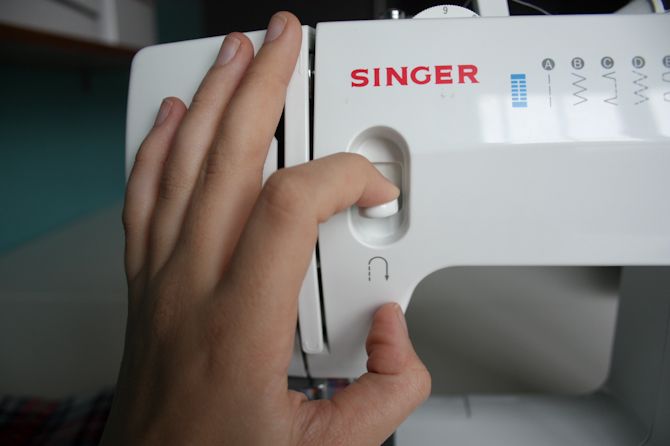
With this stitch, it’s nice to backstitch at the beginning and end of the stitch to reinforce it.
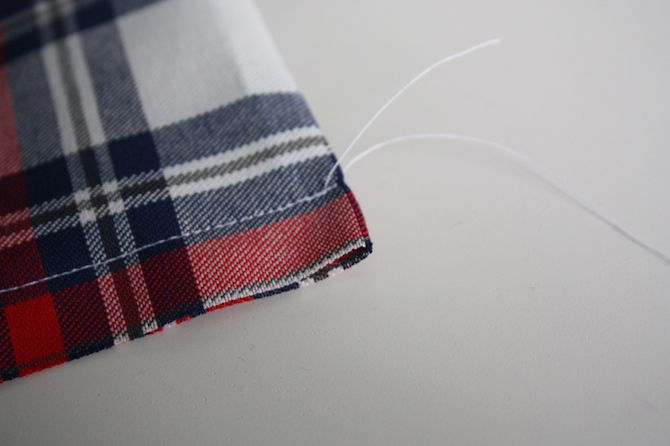
Dare I suggest here that you snip your threads?
Do it.
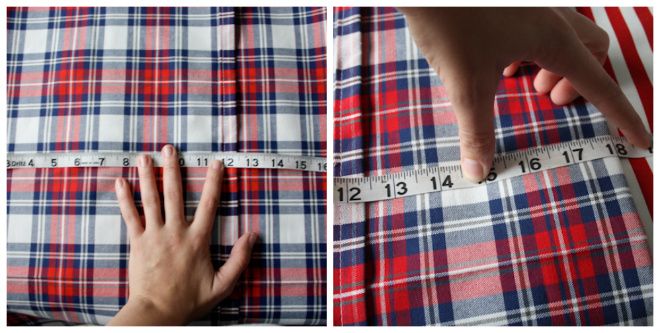
Okay, now before you stitch the other side, you’ll want to do some measuring. You want this to be perfect – or at least fit well – so this extra measuring step is key.
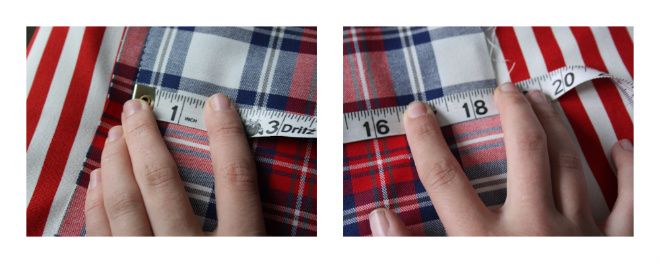
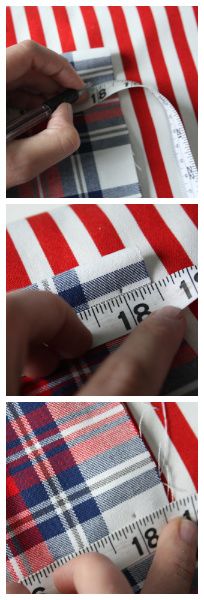
Start your tailor tape at the stitch you just made and run it across your pillow cover.
Find your lucky number and mark it in a few places. (My number is of course 18 because my finished pillow is 18″ wide.)
Now you get to stitch that other side closed. You know the drill. Just try to stitch right over those marks you made.
Everything’s all stitched up now and you can shut down the sewing machine for the night.
Unless you’re feeling awesome and want to make more than one pillow cover!
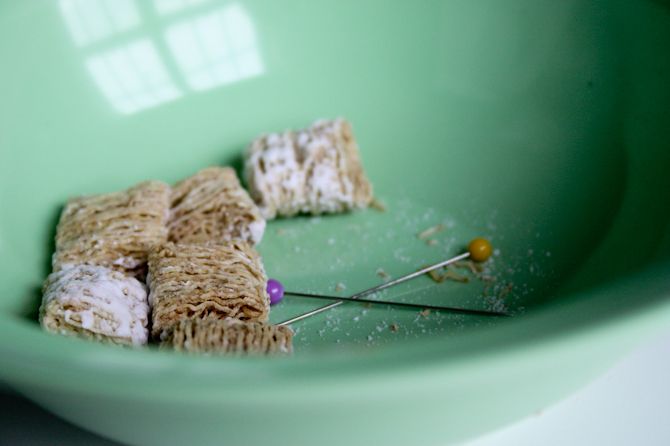
Side note: if you’re having a little mid-morning snack of, say, frosted mini wheats in a bowl and you’re really focused on sewing AND photographing all at the same time, try not to confuse your melamine bowl for your magnetic pincushion. It’s never advised to snack on needles. Just saying.
Okay, back to the tutorial.
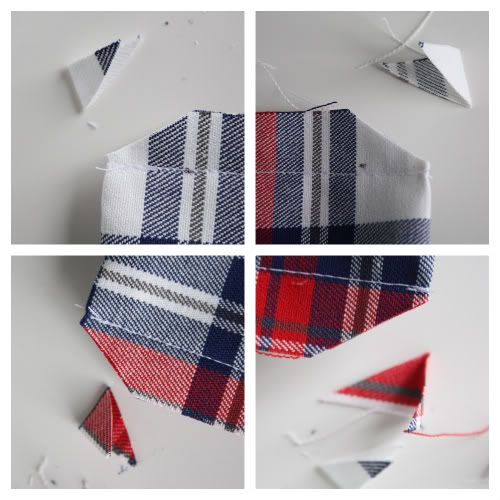
Time to trim all four corners. Just snip off the excess fabric outside of your stitch so that when you turn your cover right-side-out, the corners won’t be bulky and funny and uncooperative.
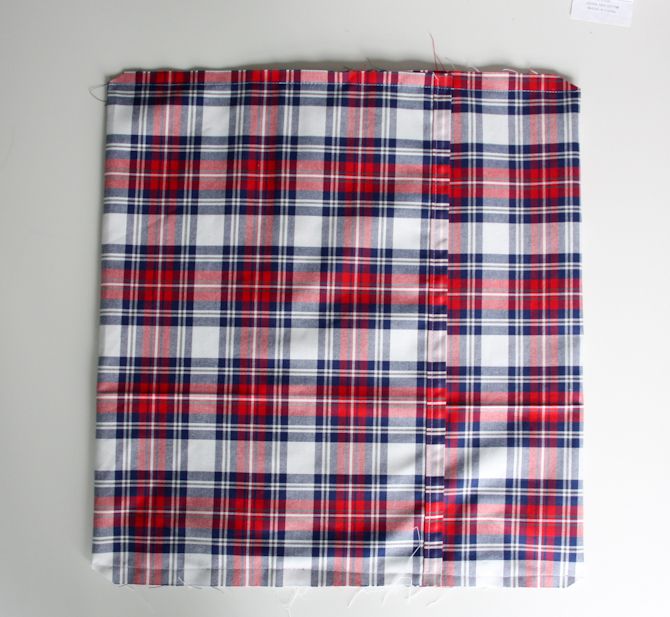
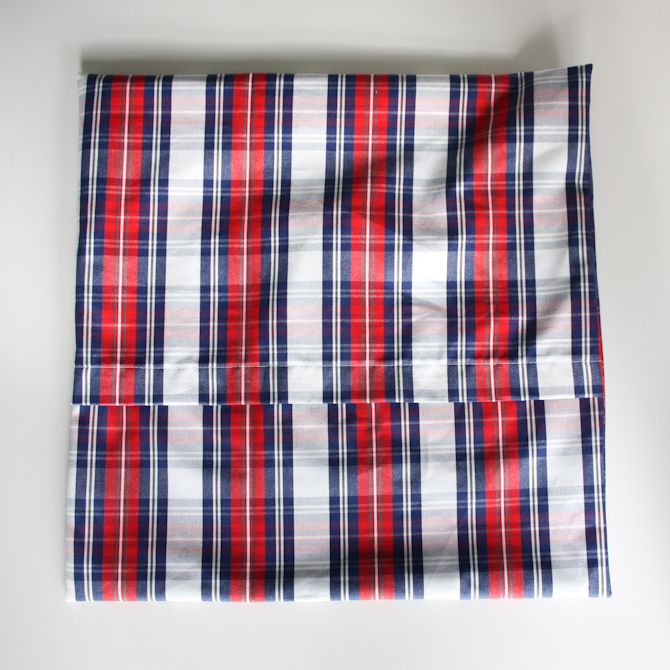
This is where you should be at this point.
You are here – right? Right? (For the record, this is currently inside out. As yours should also be.)
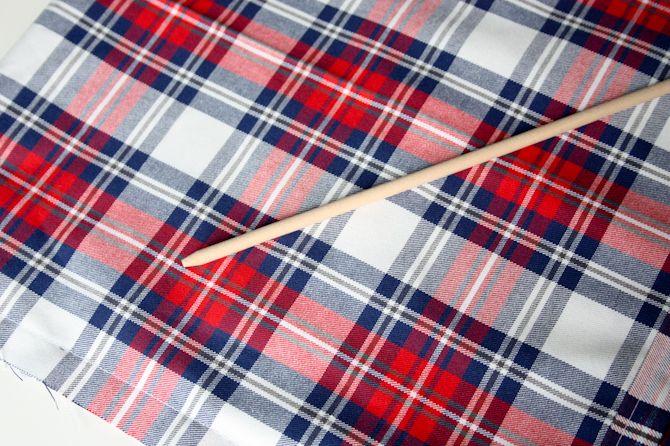
Now you get to bust out that trusty dowel. Or pencil or finger or whatever.
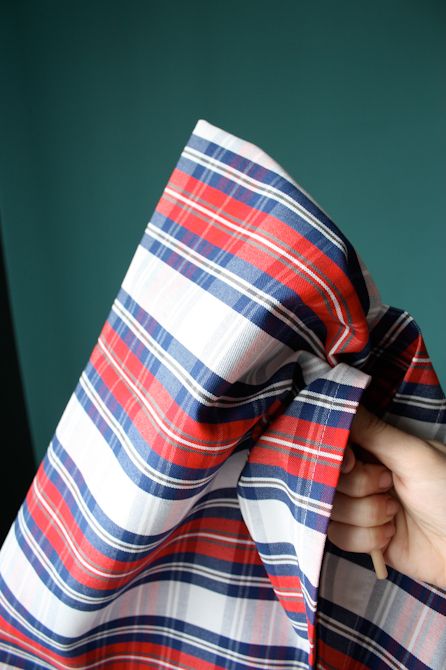
Turn your magnificent creation right-side-out. And put that magical stick to work poking out those stubborn corners.
Take that!
Almost there. SO almost there!
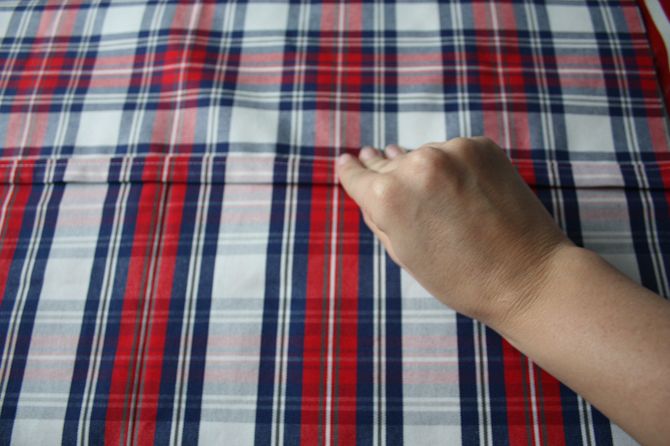
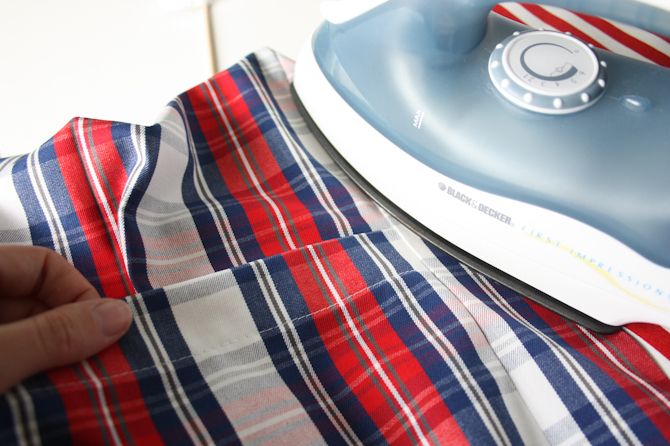
I love to press things. So, even with these new seams that are a little tricky to get at to press, give it your best shot. It will make things look even better.
And now. AND NOW!!!! We have ourselves a rocking pillow slipcover! Thankyouverymuch.
You know what to do next, don’t you?
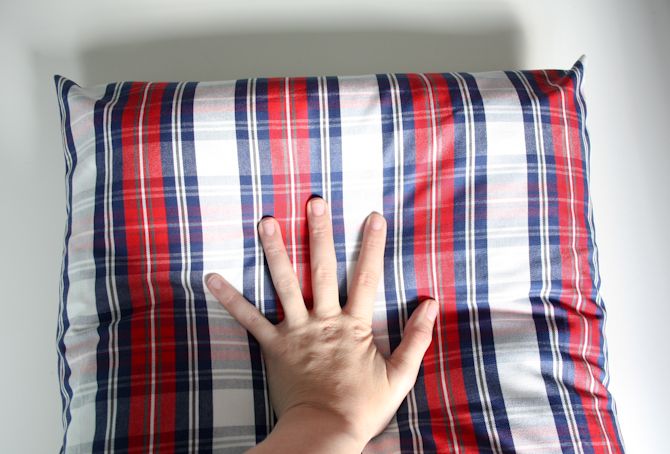
Put that baby to use! Coax your plain white pillow form into your lovely new slipcover (and thank yourself for the handy overlap closure!), give that pillow a good whap to send the feathers to the outer corners and then do a little happy dance.
(That’s me doing the whap. My hand looks so funny. I don’t know.)
Okay, crowing moment.
Wait for it…
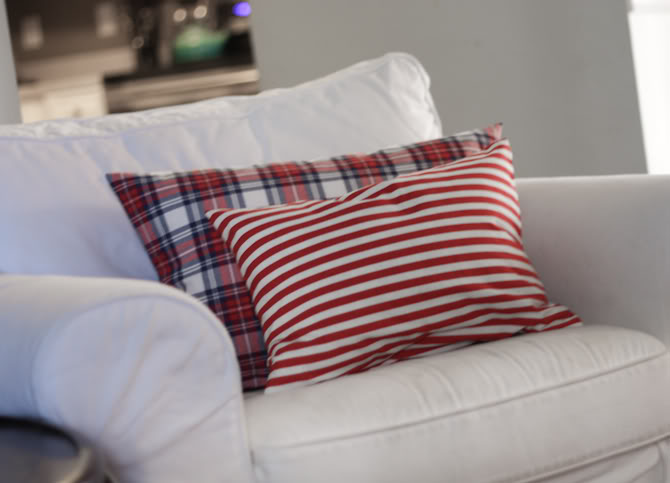
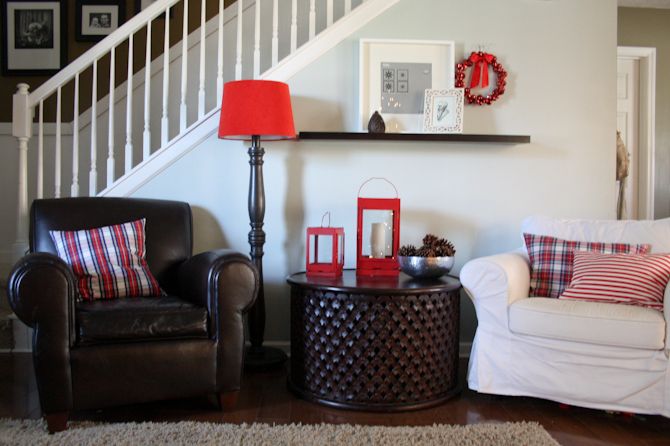
Yep. It’s feeling mighty Christmasy at the Myers home.
And yes, there is currently an empty picture frame resting on that shelf. Don’t judge. I’m working on it.
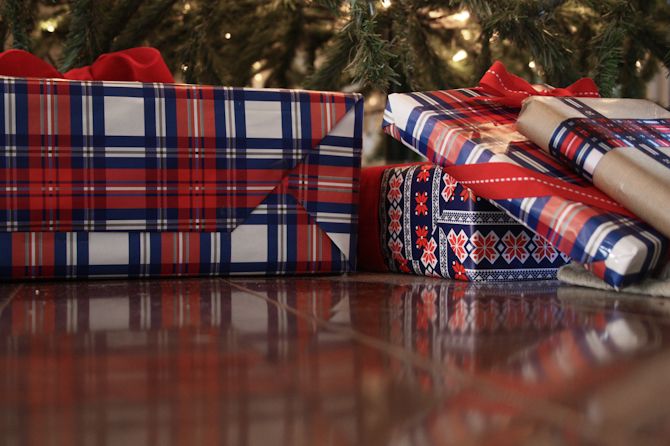
And did I mention that Ikea also sells matching wrapping paper?! I mean really, how could I pass on matching wrapping paper?
Okay, so that’s that. Everyone feeling awesome?
Can I take this moment to thank all of y’all that sent me photos from using the headband tutorial? Thank you! So much fun to see!!
Happy Friday, friends! Is anyone going to see The Voyage of the Dawn Treader this weekend? Can we talk about how cool it is to watch movies is 3D??? I just experienced it for the first time a couple of weeks ago when we took Oliver to see Megamind and Ryan and I couldn’t believe it! So cool!
I digress.
Happy Friday! Enjoy your weekend!







>Very cool! Now if I could just figure out why my machine makes the stitches too loose on the underside, we'd be in business.
And where the closest Ikea is to me…..
>Ok. Please share or do a post on how in the world you keep a WHITE chair/couch clean with children?!
I covet your white furniture -very Pottery Barn-esque (maybe, the real thing?!) but I know if I had it, it would be WHITE for about one week, after that -it would be BEIGE.
Please do share!! ;)
>Ok your tutorials just crack me up!! You are so funny! And I covered my ironing board in fabric also! It was super gross and got the sticky backing on it from making tons of applique shirts and yuck! HA!
>Ok, I want a sewing machine for Christmas..I have decided. Thank you! beautiful pillows!
>Julie B – The white chairs are actually from Ikea as well. (We have one in the living room and one in our bedroom right now) We've had them 5 or 6 years, but the slipcovers wash up really well. I like white because it means I can bleach them (even though the tag says not to, I have never had a problem). Also, a new white slipcover set is only $29. We're about due to replace these, but it's not like it's going to cost $200.
>You're awesome! That was the best sewing tutorial ever! :)
I'm totally addicted to recovering my pillows. I should have made things easier & switched to this envelope closure long ago.
I think I'll be making a lot of these!
(sorry, left this comment in the wrong place originally.) :)
>To Jen, above :
My old machine has been doing that, too.. some kind of tension problemo. Even my mom, a guru of old quirky sewing machines, couldn't figure it out. We consulted my grandma & she says there is a screw on the bobin thingy & I should tweak it a half turn, see what it does… tweak it the other way if needed.
I haven't tried it yet, but it's a thought. Good luck!
>So, there's no freakin' way I could ever do that despite your amazing tutorial. I think I'm the "pay someone else to do it" kind of girl. :) Your house looks so warm, cozy, and sophisticated at the same time. Such a reflection of YOU.
>I did a few of these this summer! Isn't it such a great way to ease your home into the seasons? Plus I was getting sick of my red red pillows. Voila, presto-change-o, it's done! I do like the plaid. Very Christmasy.
>LOVE the pillows! This cracked my up because I just posted a photo on my blog of my living room with the same frames and two still don't have pictures. Glad I'm not the only one:)
http://thewonderwomandiaries.blogspot.com/2010/12/hanging-photo-collage.html
You're so creative!
>Hooray! This is the exact style of pillow slipcover I have been wanting to make. Now that I have clear directions, I just have to choose my fabric. Thanks! (and I too have those frames…empty :))
>Thanks for the super easy tutorial. I just finished a slip cover pillow in under 25 minutes! I'll definitely be using your tutorials again.
Have a great day!
>Thanks for a super easy and entertaining tutorial…I am using it to make some cushions for our Flood ravaged friends in Queensland Australia
>Thanks so much for this wonderful tutorial! I just made my first sewing project ever – this pillow slipcover. It looks great, even though I messed up a bit. Oh well!
Thanks for the great tutorial! This was my first ever sewing project and use of my sewing machine (grandma got it for me and its been sitting unused!). This was very easy to follow – only 5 more pillows to go!
This is a great tutorial! Thanks to you, I have just completed my first sewing project… whoop, whoop!