One of the most frequent questions I get from y’all is about where I get the tags I use for my Etsy shop. I received inquiry #1,745 this week and finally decided that it was high time for me to put together a tutorial for y’all so my paltry efforts to explain this process in an email can be put to rest.
Before I start, I feel like it’s important to point out that these tags are far from indestructible. They are printed with ink, so they will eventually fade. And, I’ll show you my best suggestion for keeping the edges nice, but it’s likely that they will also eventually fade. Nothing is going to beat a nice woven/embroidered tag in quality and longevity, but these printable tags definitely beat the other guys in price!
I say feel free to use them in any sewing project, though they’ll last longest in items that aren’t washed as frequently (oven mitts, flat iron covers, etc.). I use them on all the bibs I make because I think they are such a cute little added touch – but I just expect that a few months down the road, they’ll need to be snipped off when their time to shine has passed.
Okay, that said, here is a tutorial to make your own custom sewing labels at a fraction of the price of the embroidered kind!
What you’ll need:
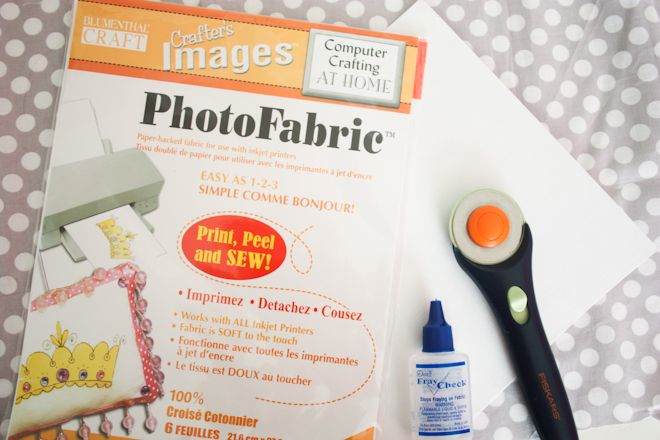
*Cotton/twill printable fabric (you can get it at Jo-Ann’s for about $12.99 for a 6-pack, or on Amazon you can find a 3-pack for around $6)
*Fray Check (again, available at JoAnn’s or on Amazon)
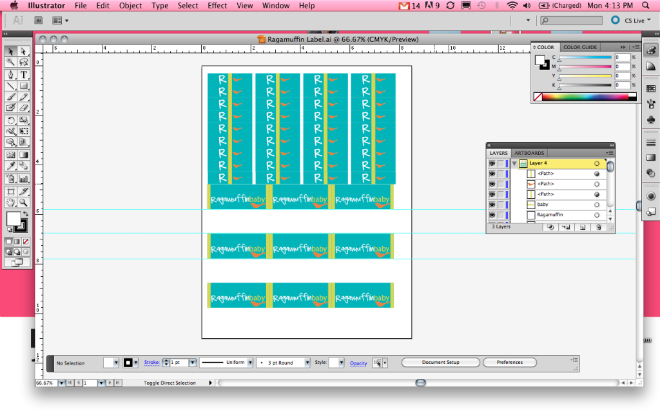
I designed my labels in Adobe Illustrator, though I imagine there are other programs – even Microsoft Office programs – in which you could also make this happen. Perhaps Powerpoint or even Word?
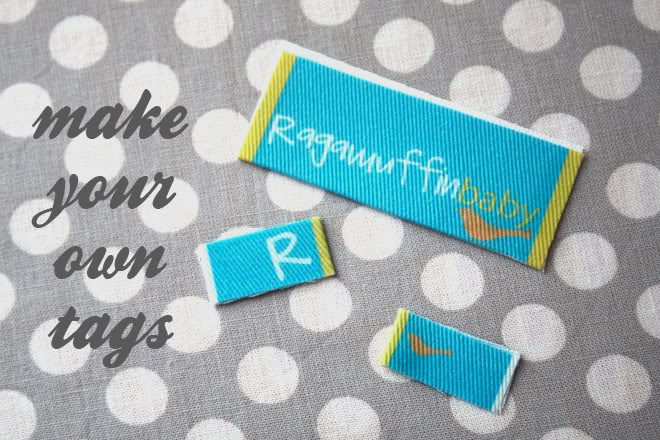
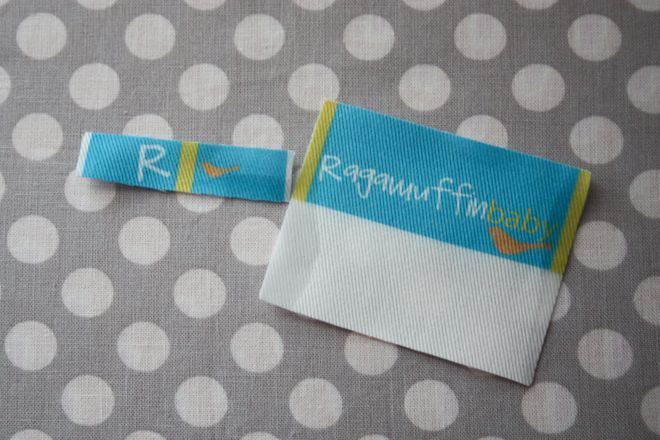
I’m going to show y’all two different types of labels today: the mini side tag (.5″ x 1.75″) and the larger neckline tag (2.5″ x 1″ for the printed, front side of the fold).
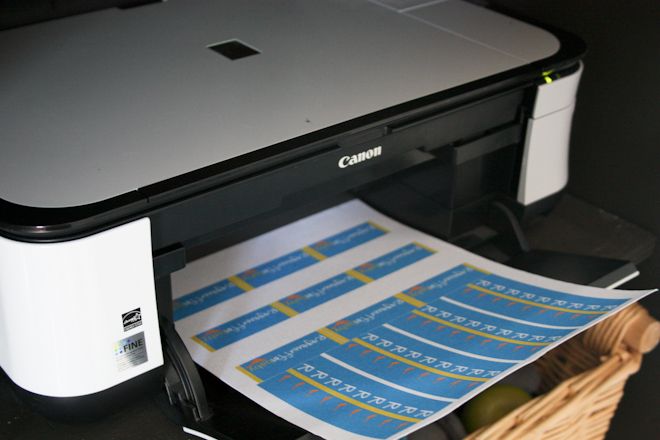
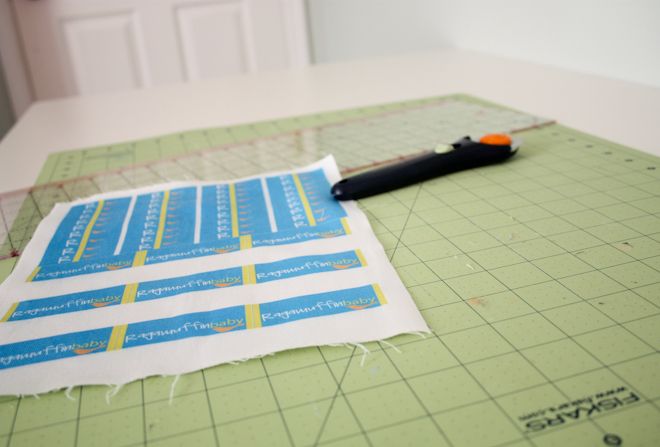
And here she comes, out of the printer! (A little bluer than I’d envisioned – looks like I’m low on colored ink.)
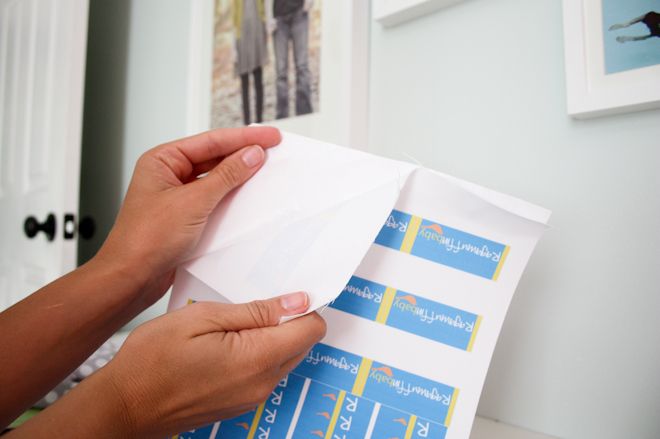
The first thing you do (after giving the ink a second to dry) is peel the paper backing off of the fabric. Try to pull it off gently and evenly. I’ve found that you can actually warp the fabric’s weave if you get too tugsy.
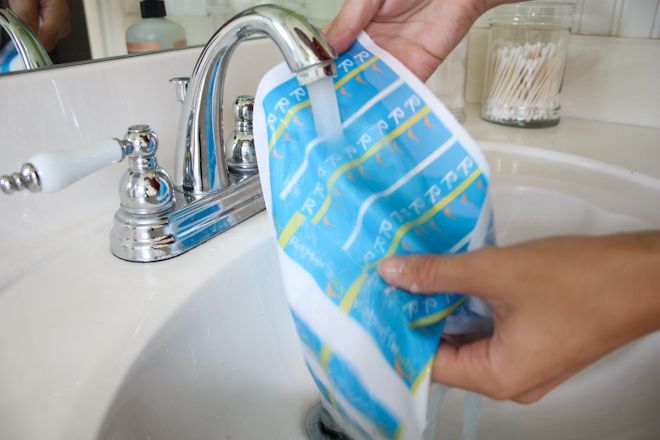
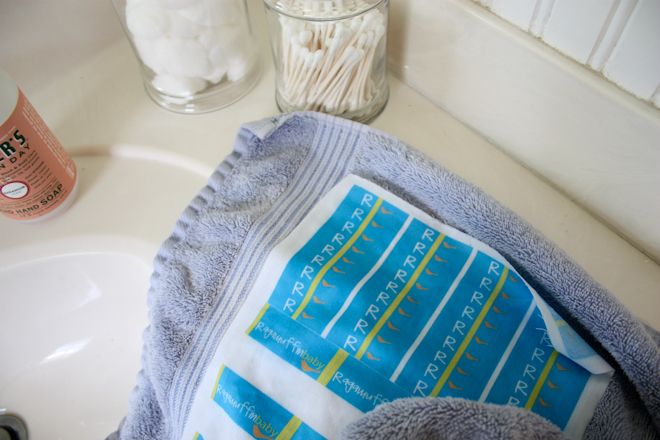
Now rinse it under cool water until the water runs clear. (I don’t know why, but this is seriously my favorite part!)
Lay it out on a towel to dry. Do NOT wring it! (again, you just don’t want to mess with the weave of the fabric – you’ll thank me later.)
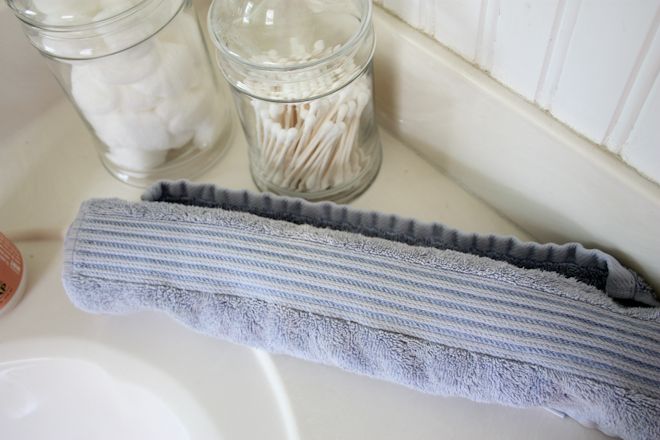
If you get too impatient, you can roll it up in the towel and give it a good squeeze. Also, a hot iron sometimes gets the last bit of dampness out if you’re feeling terribly impatient. *ahem*
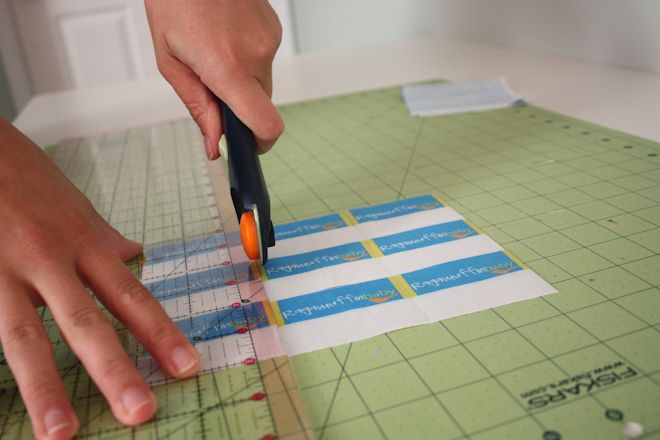
Alright, to the cutting board! (or scissors!)
This is the part where you’ll be glad you didn’t tug on your fabric. You want all your lines to be straight so you can roll right through them.
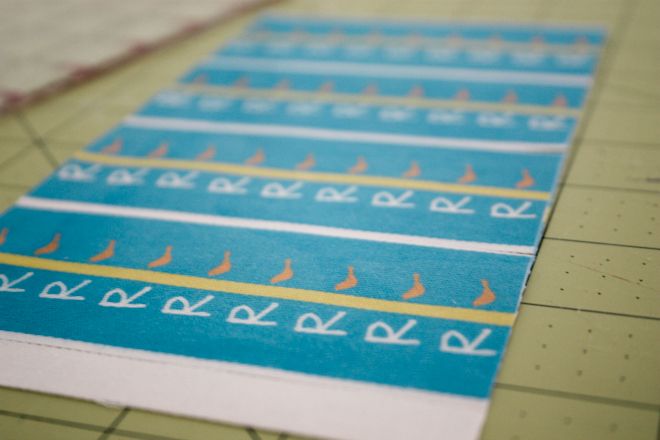
Notice that I have a block of white space beneath each image for the neck tags – I’m stingy with my ink, so I only print what will be the front sides once they’re folded.
And here are the side tags. I put a yellow bar in the center of each tag at the fold with a different image on each side so I have options. I like options. :)
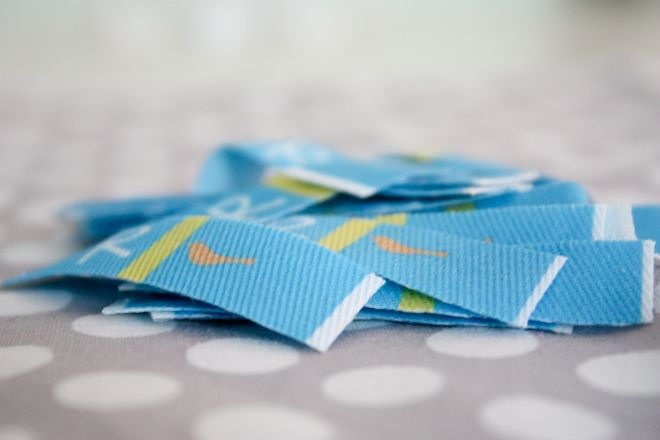
All cut and in a pretty little pile. The page I just printed yielded 36 side tags and 9 neck tags. I’m thinking you could get 72 side tags out of one page.
Now the Fray Check. Without it the cut edges will fray before you even make it to the first wash. It’s a must.
You’ll have to pardon these next few photos. I was losing daylight and things got a little less crisp.
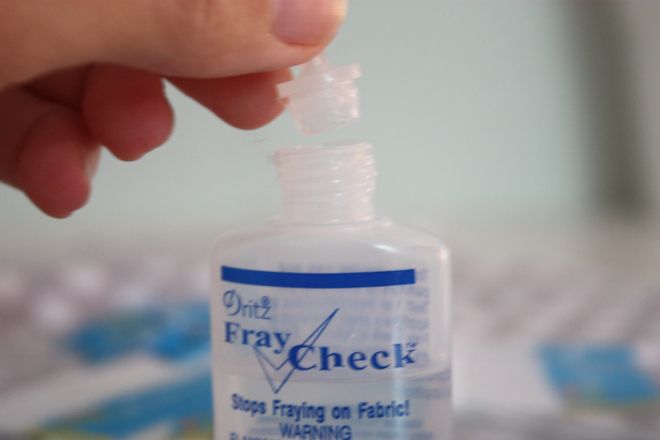
Pop the top off of the Fray Check.
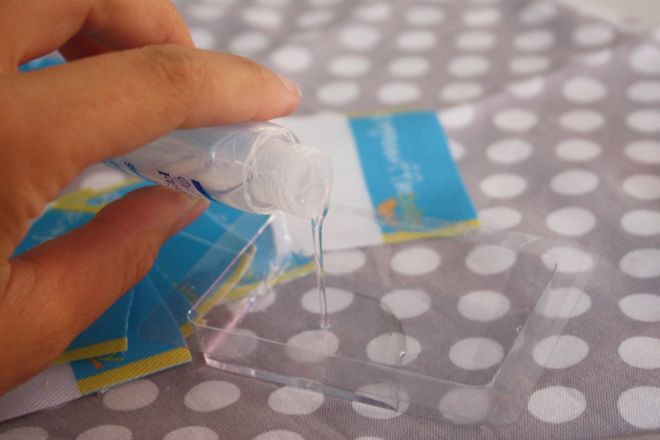
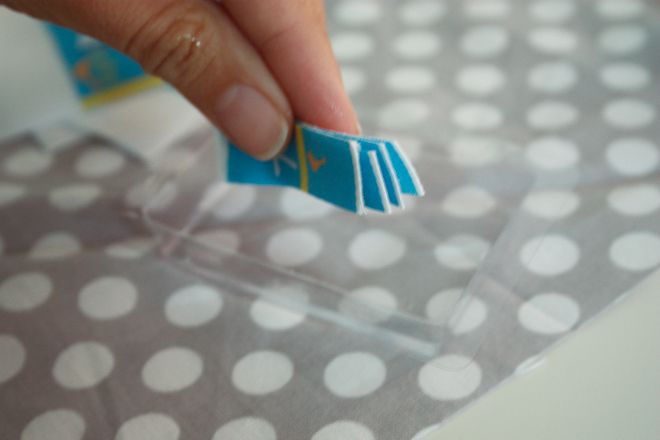
And pour a bit into a small, shallow something. I use the plastic packaging that my snaps come in from Jo-Anns. It’s just the right size.
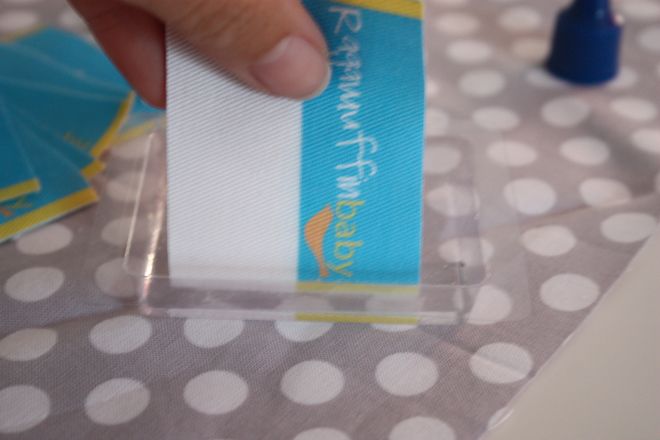
Dip the sides of the neckline labels and the tops and bottoms of the side tags in the fray check.
You don’t have to dip the edges that will eventually be concealed by stitching.
And if you start going crazy dipping one tag at a time, line a bunch up and take them for a dip together. Just make sure everybody gets baptized.
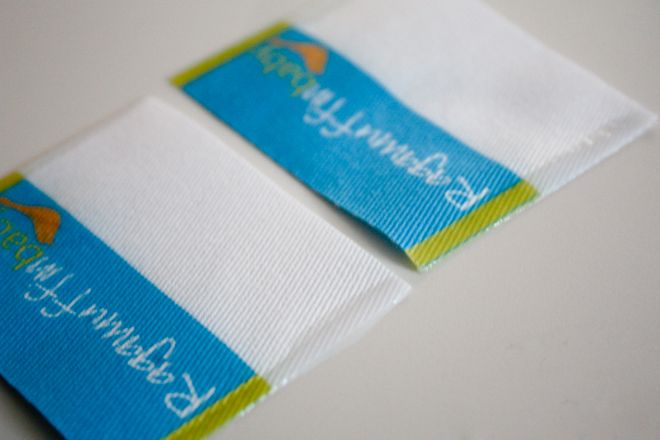
And if you’re worried that the fray check is going to stain your pretty labels, don’t. By the time it’s completely dry it will also be invisible. (You can see it drying here.)
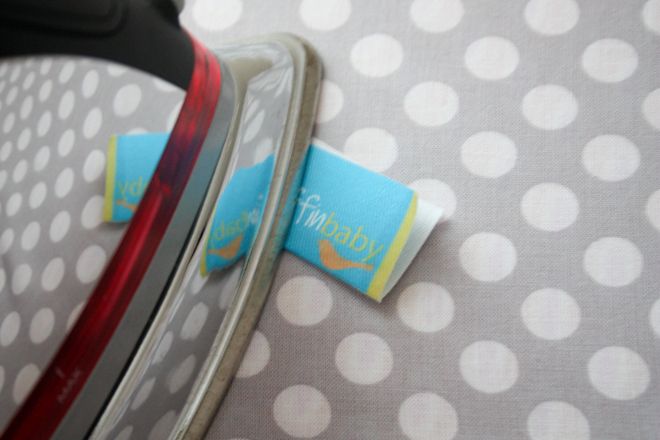
Now it’s time to iron. I’d wait until the Fray Check has dried completely (or at least almost completely if you’re impatient like me). If nothing else, to protect your iron.
Press them in half, just like you’ve planned.
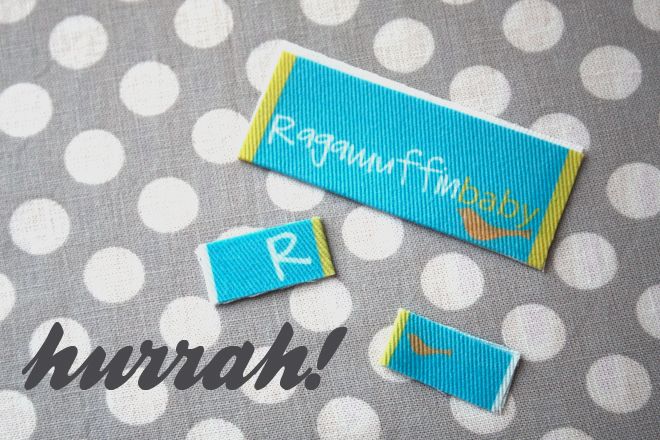
Don’t they look lovely?
Don’t you feel fancy?
Now, just press the rest and assemble for yourself a nice little cup/jar/pouch of tags with your name or logo on them and feel very grown up and professional.
And, just like giving a mouse a cookie… if you have new tags, you’re going to want to make something to sew it into!
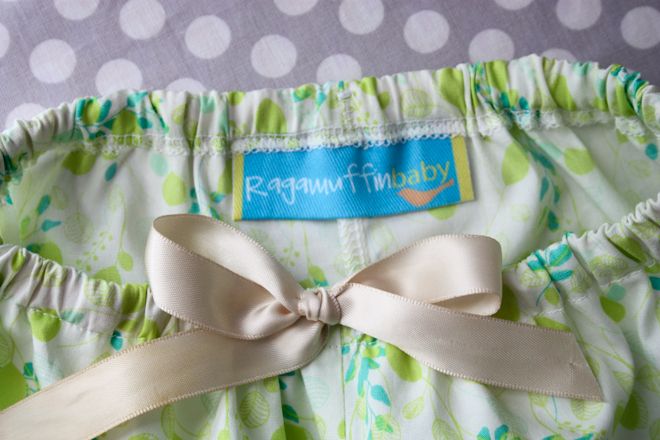
I made a quick pair of PJ pants for my little lover-girl,
one of my own little ragamuffin babies. :)
Have a lovely Wednesday, friends! Come back tomorrow – the blog switchover should happen tonight. So excited!
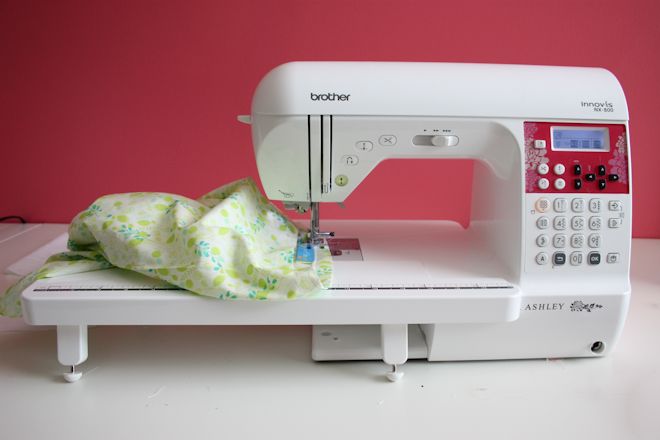
Disclosure of Material Connection: I received the Brother NX800 machine mentioned above for free in exchange for a mention of the product in my blog. Regardless, I only recommend products or services I use personally and believe will be good for my readers.


Those tags are so cute! You’ll have to add them to your new tut page! I’d love for you to have a place for your recipes too, I love your chicken ceaser sandwich recipe : )
Good thought! I’ll definitely keep that in mind. And yes, I’ll add the labels to my tutorials page :)
These are lovely! Love them. Is there a chance you can make some for me? I’m willing to pay. I just don’t have the time or other equipments to make it. Please let me know. -Selah
Hi Selah. I’m sorry – I’m short for time, too. (aren’t we all?) :) Maybe you can find a friend or college student to help you out?
Those tags look really professional!
Super cute idea. Thanks for sharing!
Thanks soooo much for posting the tutorial. My mother used to order custom tags for me a long time ago. I wouldn’t spend the money on myself by ordering them, I’m too cheap in some ways ;-) I have to admit, I had never thought to make my own. Can’t wait to give it a try. Love your designs and use of fonts and color. I hope you enjoy the happiest of New Years. Thanks, again!
Thank you so much for this! I finally made my own tags and LOVE them:)
This is a really I will go to my local arts and craft store and see if i can get these supplies
This is amazing! Thanks for sharing! I really want to do this, would you mind giving me the dimensions to the tags or do you have the guides saved in ai? I would really appreciate it. Thanks!
I don’t know off hand, but I think the big folded tags were 2″ wide and maybe 1/2″ or bigger tall on each side, plus extra white for seam allowance.
The little tags are 1/2″ squares when they’re finished.
Gorgeous labels! I love the colors, I have only printed with black ink on muslin. There is a super easy and cheap way to make your own fabric paper- cut out a piece of freezer paper (trace an 8×11 sheet onto it first) then iron the shiny side of the freezer paper to your fabric and cut the fabric smoothly on all sides, and voila! Printable fabric paper.
Also soaking the printed fabric in white vinegar for a few minutes before rinsing helps to set the ink and make it last much longer.
Thanks for the tutorial! I found it on Pinterest. I just made my first sets and I love them! I couldn’t find the same brand of paper locally, so I used Dritz Painted Treasures from the quilting section. Doesn’t have that nice texture yours has, though. Thanks for sharing this!
Thank you for sharing your info. I truly appreciate your efforts and I
am waiting for your next post thank you once again.
Hi Rachel, these tags look great… I would like to get about 10 for my little boy who just started Kindergarten…. I could provide my own design.. would you make 10 for me? How much would you charge me…?
thx!!
Hi Patty! Unfortunately, I don’t make them for sale. But you can definitely buy the printable paper and print them yourself! Or maybe you have a buddy with a color printer? So sorry! :/
Thank you so much for giving such a great tutorial for label making. I will be following your advice!
These tags are lovely! What experience do you have on the longevity? Does the ink stay “true”? Do they last as long as the embroidered kind?
Thanks so much! So simple, yet I would never have thought of it myself! Can’t wait to try this!
You seriously made me laugh out loud several times reading this. You’re hilarious!
I absolutley love these!!! So, I tried and made my own. However, I’m having trouble with the fray check staining the fabric. One side of the tag has a white background with an image and the other side has a light grey with my a name. The grey is worse than the white. You have any recommendations? Your tags look like so beautiful and there seems to be no bleeding or staining. Thank you so much for you help and your amazing website. I love it!!!!!!
A zippered front enables customizable warmth and straightforward layering.