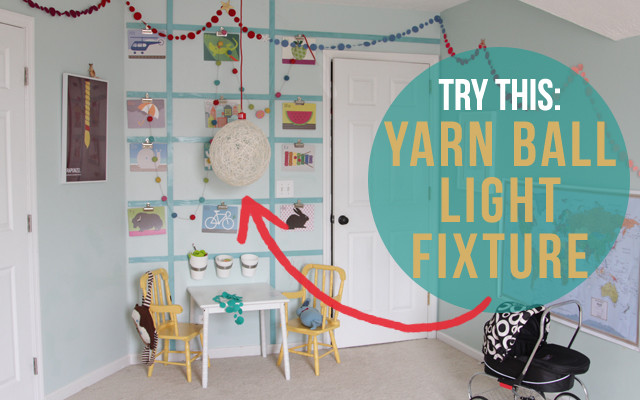
I feel like our bonus room is the one room in our home that will probably be evolving for as long as we live here. It has served as an office, a family room, and for the past few years (and probably for a good while still), it is our play room.
And even as our play room, I imagine I will always enjoy adding little bits of happiness to it – just to keep it feeling fresh.
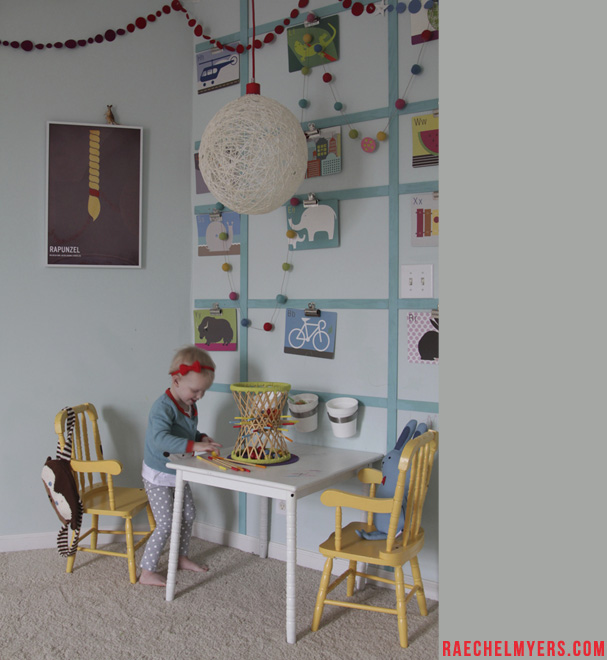
Recently, I decided it might be fun to switch up the area above the kids’ coloring table – maybe a pop of color with a touch of DIY. I didn’t want to spend a lot of money, and I’ve been dying to attempt a yarn ball light fixture like the ones that currently hang above the cash register at our local Anthro, so this seemed like my chance.
Of course I didn’t bother to take the time to research how other folks have done it, I just took an afternoon with my sister and we sort of winged it. Trial and error taught us a lot and I’m excited to share what worked really well for us to make our very own Yarn Ball Light Fixture:

cord kit // foam or bristle brush // cotton yarn
mod podge // round balloon or punch ball

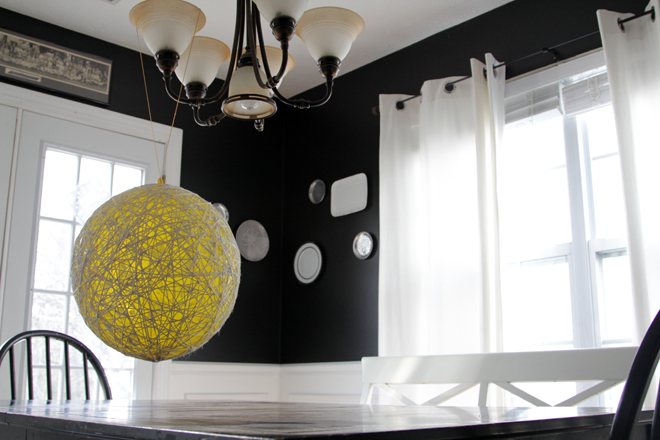
1. Inflate the balloon to the size you want (if this is your first time, start small), and hang it so that it’s not touching anything. (We used a punching ball, so there was already a giant rubberband attached.) We worked at my dining room table. I HIGHLY SUGGEST covering your work surface with newspaper. My whole table had a decoupage glaze until I could get it clean.
2. This is definitely going to take two people – even if you have it hanging. Getting started is tricky, but once you get going, it’s simple and fun. I recommend getting your fingers a little wet with the Mod Podge to get started.
3. Ultimately, you want the yarn to have a cool, chaotic look. But to get started, you have to be organized. Do a bunch of vertical wraps until you feel like things are pretty secure. Don’t be afraid to pull tight into the balloon’s elasticity a bit.
4. Take turns with your buddy. With everyone’s fingers a little bit messy with mod podge, one person hold the balloon still, and the other person just get wrapping – being as intentionally chaotic as you can stand.
5. Stand back. You don’t want to under-do this, but you don’t want to over-do it either. At some point you’ll hit the sweet spot and you’ll know it. That, or your back will be so tired and your hands will be so sticky that you’ll cry uncle and conveniently be at a happy stopping point. You know… either way.
6. While everything is still wet, start thinking about the reality that you’re going to need to fit a lightbulb and your fist through the bottom hold, and that the top hole will need to almost perfectly fit the light fixture. No pressure, there will be time to make adjustments once everything is dry. But the more you can do now, while everything is still wet, to accommodate those things, the better.
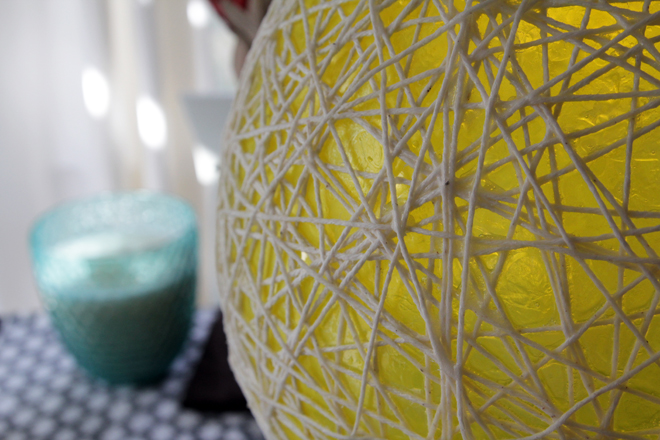
7. Now, go nuts with mod podge. Once things are about how you’d like them to be, and you’re totally finished wrapping, make it stick. (And speaking of stick, don’t worry about it sticking to the balloon – it will all work out great in the end!) We used a foam brush at first, but ultimately found that it was just easier to scoop the goop out with our hands and slather it on. Clean up was tough though, so if you’re a tidy person, use a foam or bristle brush for this step.
Now? Let it dry. I gave our project a full 24 hours, then checked it for “soft spots”, recoated those areas and gave it another 24 hours after that. Patience is a virtue. It is worth making sure all of the yarn is really good and hard.
[I’ll confess that I didn’t leave the balloon totally alone while it dried. Just about every time I walked past it (which was a lot of times), I would poke my finger through a hole in the yarn to push the balloon in and separate it a little more from the Mod Podge/yarn frame. Super satisfying. I’m just saying.]
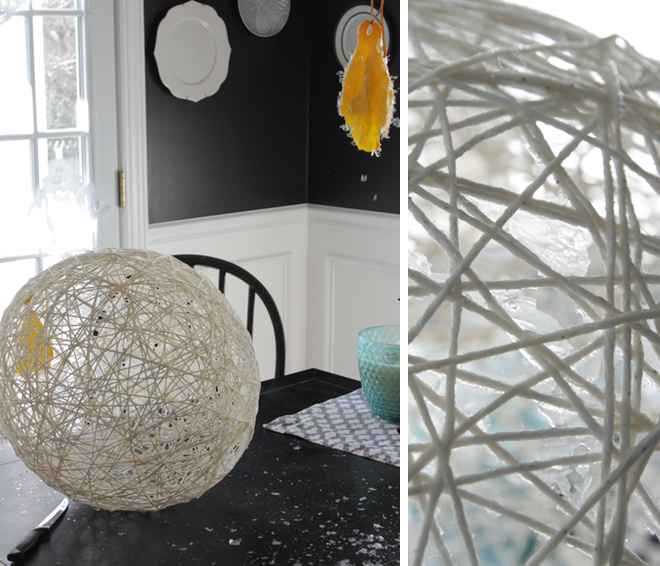
And now… the moment we’ve all been (or at least I was) totally waiting for… the POP!
You guys, I’m not going to lie. It was equal parts thrilling, terrifying and incredibly satisfying. The noise, the explosion of clear, dried Mod Podge scattered everywhere like confetti, the ball unexpectedly dropping to the table (I should have seen that coming), and the fact that IT WORKED!! It looked like a legitimate yarn ball!
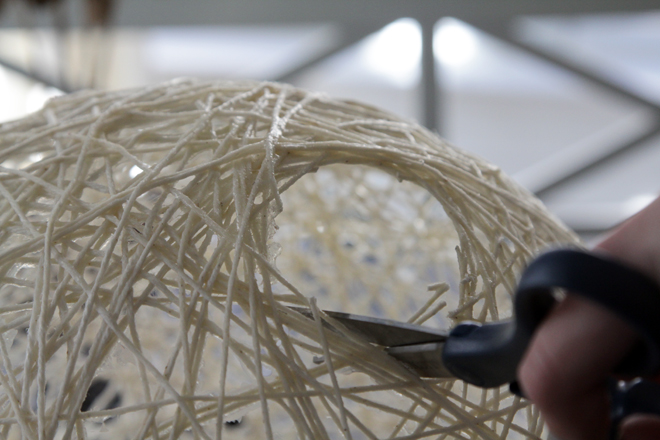
I used a q-tip to clear out some of the dried Mod Podge that didn’t break free with the balloon. Then, I used scissors (and eventually a cutco knife, but that’s dangerous, so don’t do that!) to clear a hole at the bottom large enough to fit my arm in.
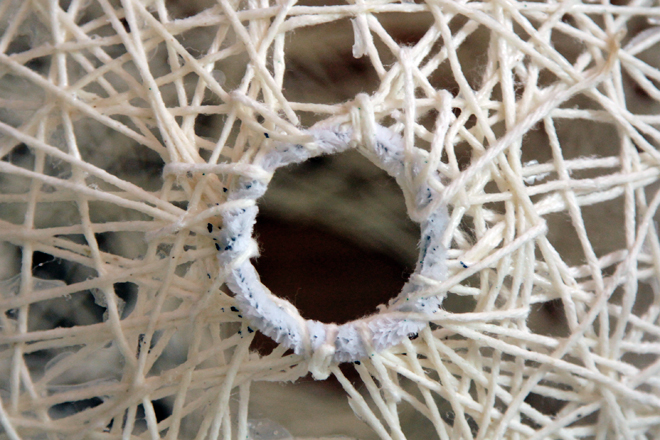
The top hole was actually a little too big (oops!), so I got creative and made a ring with a white pipe cleaner, and “stitched” it in place with some more yarn, then made it permanent with my last drips from the bottle of Mod Podge. I’m kind of MacGyver. It’s cool. We can still be friends.
Of course next comes the big, payoff, moment-of-truth when you attach your cool, pop of color cord to your masterpiece and hallelujah! The design angels rejoice!
Hang that bad boy up (and, you know, safely wire it into some electricity) and feel awesome because you did something super cool.
(Wouldn’t it be fun to do a bunch of little ones in different colors to make Easter Eggs?
THAT wouldn’t even require electricity or cutco cutlery!)
Other fun things you may have seen in this post:
Rapunzel Print // Alphabet Wall Cards // Pallina Game
Felt Ball Garland (similar) // Pretty black + white pram
Have an awesome Monday, friends!
Enjoy the sunshine and exercise your creativity this week!



SO. FUN.
I love that red cord kit, btw. You are sellin’ me, lady.
YES!! this is amazing. love that you winged it! and then shared your tips with us. ;) reminds me of THIS: http://pinterest.com/pin/125115695867408738/
LOVE.
love this!!! just curious on how you secured the light fixture inside the ball. i can’t imagine that you just stick it in & it stays?
The cord kit has one piece that goes down into the hole, and another screws up onto that from inside and sandwiches the yarn ball in between. You will see more pictures with a better view if you click through the link to the full tutorial :)
A beautiful light fixture, a great design!
Where did you get the light for this fixture? My husband and I are planning on doing this but we can’t find a light that we love as much as the one you used.
Hi Lacey! I got the red cord kit from The Land of Nod – they have a bunch of different colors and you can do plug-in or hardwire! bit.ly/cordkit
I tried this, but ran into problems. When I pop the balloon, the entire ball deflates. I was able to reinsert and blow up a new baloon. I waited a week and tried again. Same result. Put in a new baloon. Any suggestions what to try next?